Rental listing photos are the first thing prospective tenants look at. Poor photos reduce inquiries regardless of how good the property is.
Natural light is the single most important factor in rental property photos. Shoot during the day, ideally on an overcast morning when light is soft and even.
Declutter and stage every room before picking up a camera. Clean, uncluttered spaces photograph significantly better than lived-in rooms.
Shoot from corners to show as much of the room as possible. Position yourself low and wide to make rooms look larger and more spacious.
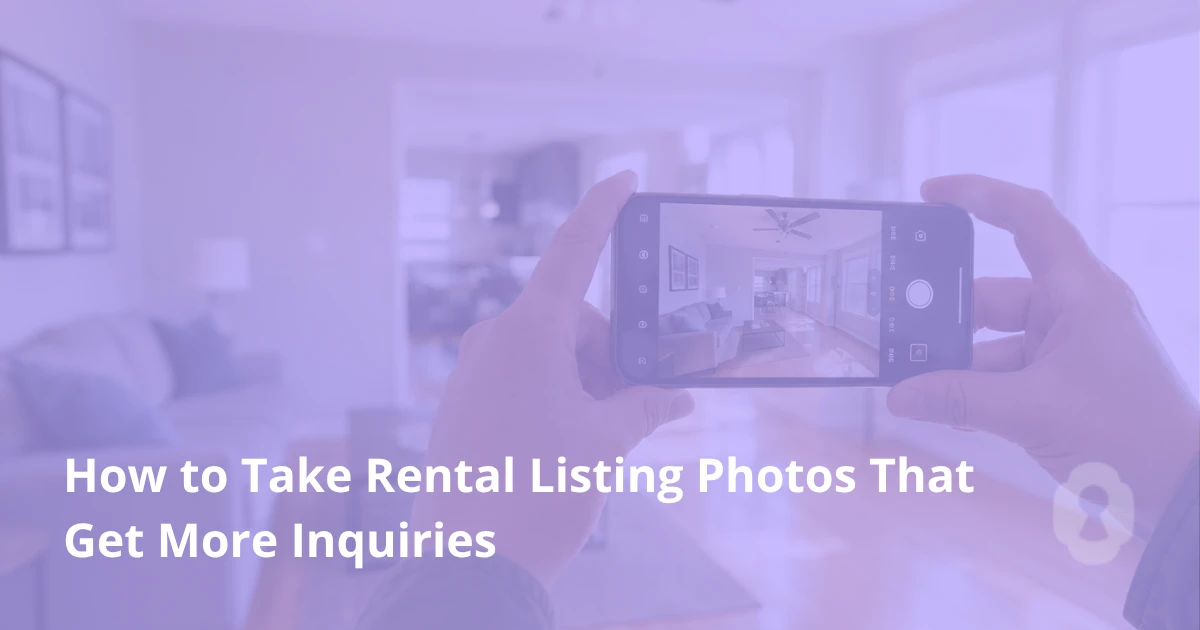
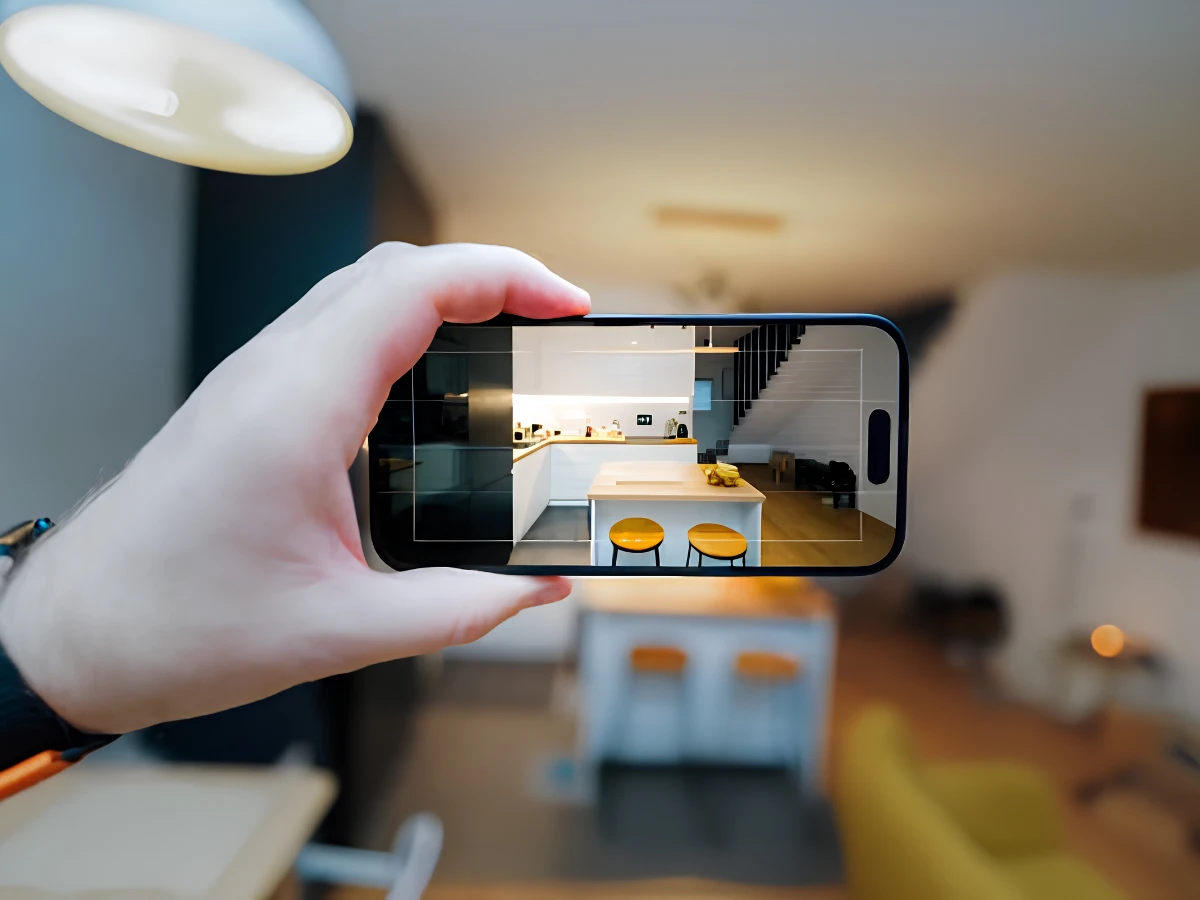
A modern smartphone with a wide-angle lens can produce high-quality rental listing photos. A DSLR or professional photographer will produce better results, but it isn't required for most listings.
Most renters decide within seconds whether they're interested in a listing. That decision is driven almost entirely by photos. A rental property can be clean, well-maintained, and fairly priced, and still sit on the market longer than it should because the listing photos make it look dark, cramped, or poorly cared for.
Good rental listing photos don't require a professional real estate photographer or a DSLR camera. They require preparation, the right light, and a few techniques that make a real difference in how a room reads on a screen.
This guide covers how to prepare your rental property for photos, how to shoot each room effectively, and when to hire a professional photographer.
Why Rental Photos Matter More Than Most Landlords Think
Prospective tenants searching for rentals online see dozens of listings in a single session. They scan photos first. If the photos are dark, blurry, or show a cluttered, unappealing space, most renters move on without reading the description.
A picture is worth a thousand words, especially in rental listings. High-quality photos signal that you're an attentive landlord who cares about the property. Grainy, poorly lit photos signal the opposite, often giving potential tenants the impression of a lack of care before they've seen a single word of the listing description.
The rental market has become more competitive in most areas. Prospective renters have more options and more ways to compare them. Listings with professional-quality rental property photos consistently get more inquiries, more showings, and faster placements than listings with poor photography, even when the properties themselves are comparable.
Prepare the Property Before You Take a Single Photo
The preparation you do before picking up a camera matters more than almost any photography technique. A well-prepared space photographs well. A lived-in, cluttered space photographs poorly, no matter what you do with the lighting.
Remove all clutter. Every surface should be clear. Countertops in the kitchen and bathroom should be empty or nearly so. No dish racks, small appliances, toiletries, or personal items. The goal is for the room to look like a staged space, not a place someone lives in.
Deep clean. Dirt, stains, smudged mirrors, and water spots on faucets all show up in photos. Clean every surface, shine every fixture, and wipe down windows from the inside.
Maximize natural light. Open every blind and curtain fully. Remove any heavy window coverings that block light. The more natural light you can let in, the better your photos will look.
Stage each room simply. You don't need to hire a staging company. A few simple touches go a long way. In the living area, arrange furniture to clearly show the space. In the bedroom, make the bed with clean, neutral bedding. In the bathroom, put out fresh, neatly folded towels and remove all personal care products.
Replace burned-out bulbs and turn on every light. Even when shooting in natural light, having all lamps and overhead lights on brightens the room and fills shadows. Check every fixture before you start shooting.
Address anything that photographs badly. A scuffed wall, a stained piece of carpet, or a damaged fixture will be the first thing a renter's eye goes to in the photo. Fix it or stage around it before you shoot.
Understand Light Before You Shoot
Lighting is the single most important variable in rental listing photos. Rooms that look warm and spacious in person can look dark and unappealing in photos if the light is wrong.
Shoot during the day. Daytime shooting gives you the most natural light and the most flattering results. Photos taken at night or in the evening, relying on artificial lighting only, almost always look warmer and darker than daytime shots, which reads as smaller and less inviting.
Overcast light is ideal for most rooms. A bright overcast sky acts as a giant softbox, diffusing light evenly across the room without harsh shadows or blown-out windows. The golden hour immediately after sunrise or before sunset produces beautiful warm light, but shorter windows for shooting. Avoid midday direct sunlight in south-facing rooms, which creates a strong contrast between bright spots and deep shadows.
Balance interior and exterior light. One of the most common problems in rental property photos is a blown-out window: the room looks correct, but the window is a white rectangle with no detail. To fix this, shoot when the interior and exterior light levels are more evenly matched (early morning or late afternoon), or take multiple exposures and combine them.
Use lamps to fill shadows. Even in daytime shooting, turning on all lamps and overhead lights helps brighten dark corners and creates a warmer, more inviting look. A room with good natural light and every lamp on will almost always photograph better than one with natural light alone.
Avoid artificially mixing light sources of different colors. Incandescent bulbs cast orange light. Daylight-balanced bulbs cast white or slightly blue light. When mixed with natural light, incandescent bulbs create an orange cast in parts of the room that looks unnatural in photos. Switch to daylight-balanced LED bulbs before your shoot if possible.
How to Shoot Each Room
Living Area
The living area is usually your most important photo. It sets the tone for the listing and often appears as the first or hero image.
Position yourself in a low, wide corner to show as much of the room as possible. Shooting from corner to corner captures three walls rather than one, making the room look more spacious. Get the camera as low as eye level when seated, which tends to give living spaces a more inviting feel than shooting from standing height.
Include the ceiling in your shot. Cutting off the ceiling makes rooms feel compressed. Showing the full height of the room makes it feel larger.
Make sure furniture is arranged to showcase the space rather than dominate it. If a large piece of furniture blocks the room's natural flow, move it for the photo.
Kitchen
The kitchen is a key decision point for many renters. Clean countertops, clear surfaces, and organized cabinets (even the open shelves) are essential.
Shoot from the doorway or a corner to show as much counter space and as many appliances as possible. Turn on the range hood light if there is one. Open cabinet doors slightly if the interior is clean, as this can add depth to the photo.
Photograph the sink area separately if it's in good condition. A clean, well-lit sink shot reinforces the kitchen's overall cleanliness.
Bedrooms
For bedrooms, shoot from the doorway or a corner opposite the bed. A neatly made bed with simple, neutral bedding should be the focal point. Clear nightstands down to one or two items maximum.
Show closet space if it's a selling point. An organized, reasonably spacious closet is something potential renters actively look for, and a well-lit shot of a clean closet can be a meaningful differentiator.
Avoid showing personal items, clothes, or anything that makes the room feel cramped or cluttered.
Bathroom
Bathrooms are small and challenging to photograph well. The key is maximizing the sense of cleanliness and space.
Close the toilet lid. Put out one set of neatly folded towels in a neutral color. Clear every surface of personal care products. Shine the mirror, clean the fixtures, and make sure the floor is spotless.
Shoot from the doorway with a wide-angle lens or the widest focal length available on your smartphone. Turn on all lights and the exhaust fan, if it has one. If the bathroom has a window, use it.
Exterior and Outdoor Spaces
Exterior photos set expectations before a renter even looks inside. Shoot on a clear day with good light. Make sure the lawn is mowed, walkways are clear, and any visible clutter is removed.
If the property has a backyard, patio, deck, or parking area, photograph those separately. Outdoor space is a selling point that many listings underutilize.
Shoot the exterior from an angle rather than straight on. A slight diagonal perspective adds depth and makes the property look more three-dimensional than a flat, front-facing shot.
Equipment and Tools
Smartphone. Modern smartphones, including current iPhone models, produce high-quality rental listing photos in good light. Use the wide-angle lens if your phone has one. Use a tripod or prop the phone against a surface to eliminate camera shake and keep shots level.
DSLR or mirrorless camera. A camera with a wide-angle lens (16 to 24mm equivalent) will produce sharper, more detailed photos with better dynamic range than a smartphone in most conditions. If you or someone you know has one, it's worth using for your listing photos.
Tripod. A tripod is worth having regardless of what camera you use. It eliminates blur from hand movement, lets you use slower shutter speeds to brighten dark rooms, and keeps your shots consistently level. A basic tripod costs $20 to $40 and makes a visible difference in photo quality.
Editing apps. Even good photos benefit from basic editing: brightness, contrast, and white balance adjustments. Lightroom Mobile is free and produces excellent results. Snapseed is another strong free option. The goal is to make photos look accurate and appealing, not artificially enhanced. Over-edited listing photos create a gap between expectations and reality, leading to disappointed renters at showings.
When to Hire a Professional Real Estate Photographer
Hiring a professional photographer makes sense in several situations. If your rental property is at the higher end of your local market, professional photos are a baseline expectation among qualified renters. If your previous listing photos resulted in fewer inquiries than expected, investing in professional photography is likely to pay for itself in faster placement.
A professional real estate photographer with rental property experience typically costs $100 to $300 for a standard residential property. They'll handle lighting, equipment, framing, and editing. The resulting photos will show the property in the best possible way and will stand out against listings shot on smartphones without preparation.
If you're not sure whether to hire a professional, compare your current listing photos with those of the top three listings in your area at a similar price point. If their photos look meaningfully better than yours, that gap is likely affecting your inquiry volume.
How Many Photos to Include in Your Listing
More is generally better up to a point. Listings with 10 to 20 photos consistently outperform those with three to five. Renters want to see every room, multiple angles of key spaces, the exterior, and any standout features.
For a typical two-bedroom unit, aim for at least 12 to 15 photos covering the living area (two to three angles), kitchen (two angles), each bedroom (one to two angles each), each bathroom, at least one exterior shot, and any additional selling points (backyard, parking, laundry, storage).
The first photo in your listing should be your best one, typically the living area or the property's most attractive feature. The first photo determines whether potential renters click through to see the rest.
Frequently Asked Questions
Can I use my iPhone to take rental listing photos?
Yes. Current iPhone models and most modern Android smartphones can produce high-quality rental listing photos in good lighting. Use the wide-angle lens, shoot during the day with maximum natural light, use a tripod, and do basic editing afterward. The results won't match a professional real estate photographer with a DSLR, but they can be significantly better than handheld smartphone shots taken without preparation.
What time of day is best for rental property photos?
Morning on an overcast day is ideal for most interior spaces, as the light is soft and even, with no harsh shadows. Clear sunny mornings work well too, especially for east-facing rooms that get good morning light. Avoid midday for south-facing rooms (harsh shadows) and avoid shooting in the evening with artificial light only. For exterior shots, morning or late afternoon with good directional light tends to look best.
How do I make a small room look larger in photos?
Shoot from the corner of the room, low and wide, to show three walls and the ceiling. Use the widest lens available. Maximize natural light by opening all blinds and turning on all lights. Remove furniture that crowds the frame. A decluttered, well-lit small room will photograph more spaciously than a cluttered large room. Avoid using distorted ultra-wide or fisheye lenses, which make rooms look artificially stretched and create unrealistic expectations for renters at showings.
Should I include photos of every room?
Yes. Listings that skip rooms make potential renters suspicious. If a room isn't shown, renters often assume there's a reason it was left out. Include every room, even if it's small. A clean, well-lit photo of a modest bathroom is better than no bathroom photo at all. The goal is to give potential tenants a complete and honest picture of the property so that renters who schedule showings are already qualified.
The Bottom Line
Rental listing photos are your first, and often only, opportunity to make a strong impression on prospective tenants before they decide whether to schedule a showing. High-quality photos don't require expensive equipment, but they do require preparation, the right light, and the discipline to stage and clean before you shoot.
Take the time to prepare each room, shoot in good natural light, and include enough photos to give renters a complete picture of the property. Listings with great photos get more inquiries, attract better-qualified renters, and fill faster. That's a return on a few hours of preparation that compounds every time you list a vacancy.
Taylor Wilson
Founder
Taylor Wilson is the Founder of Rent with Clara, a modern renter screening platform built to streamline the rental application process. As both a renter and an independent landlord, Taylor sits on both sides of the lease, and built Clara to give renters control over what they share while giving landlords reliable and verified applications.
Read Articles
1099 Tenant Proof of Income: Complete Verification Guide For Landlords




.png)

.png)
.png)

.png)

.png)


